How to Change Rear Axle Tubes on a Quick Change Rear End
Posted by Al Fernandez on Sep 18th 2021
At my last American Muscle Car Masters event, I broke an axle shaft. Since both axle shafts are the same age and they do fatigue, its reasonable to replace both. However, since two axle shafts make up the bulk of the cost of changing the rear track width, I decided this was a good time to optimize my car to the series rules.
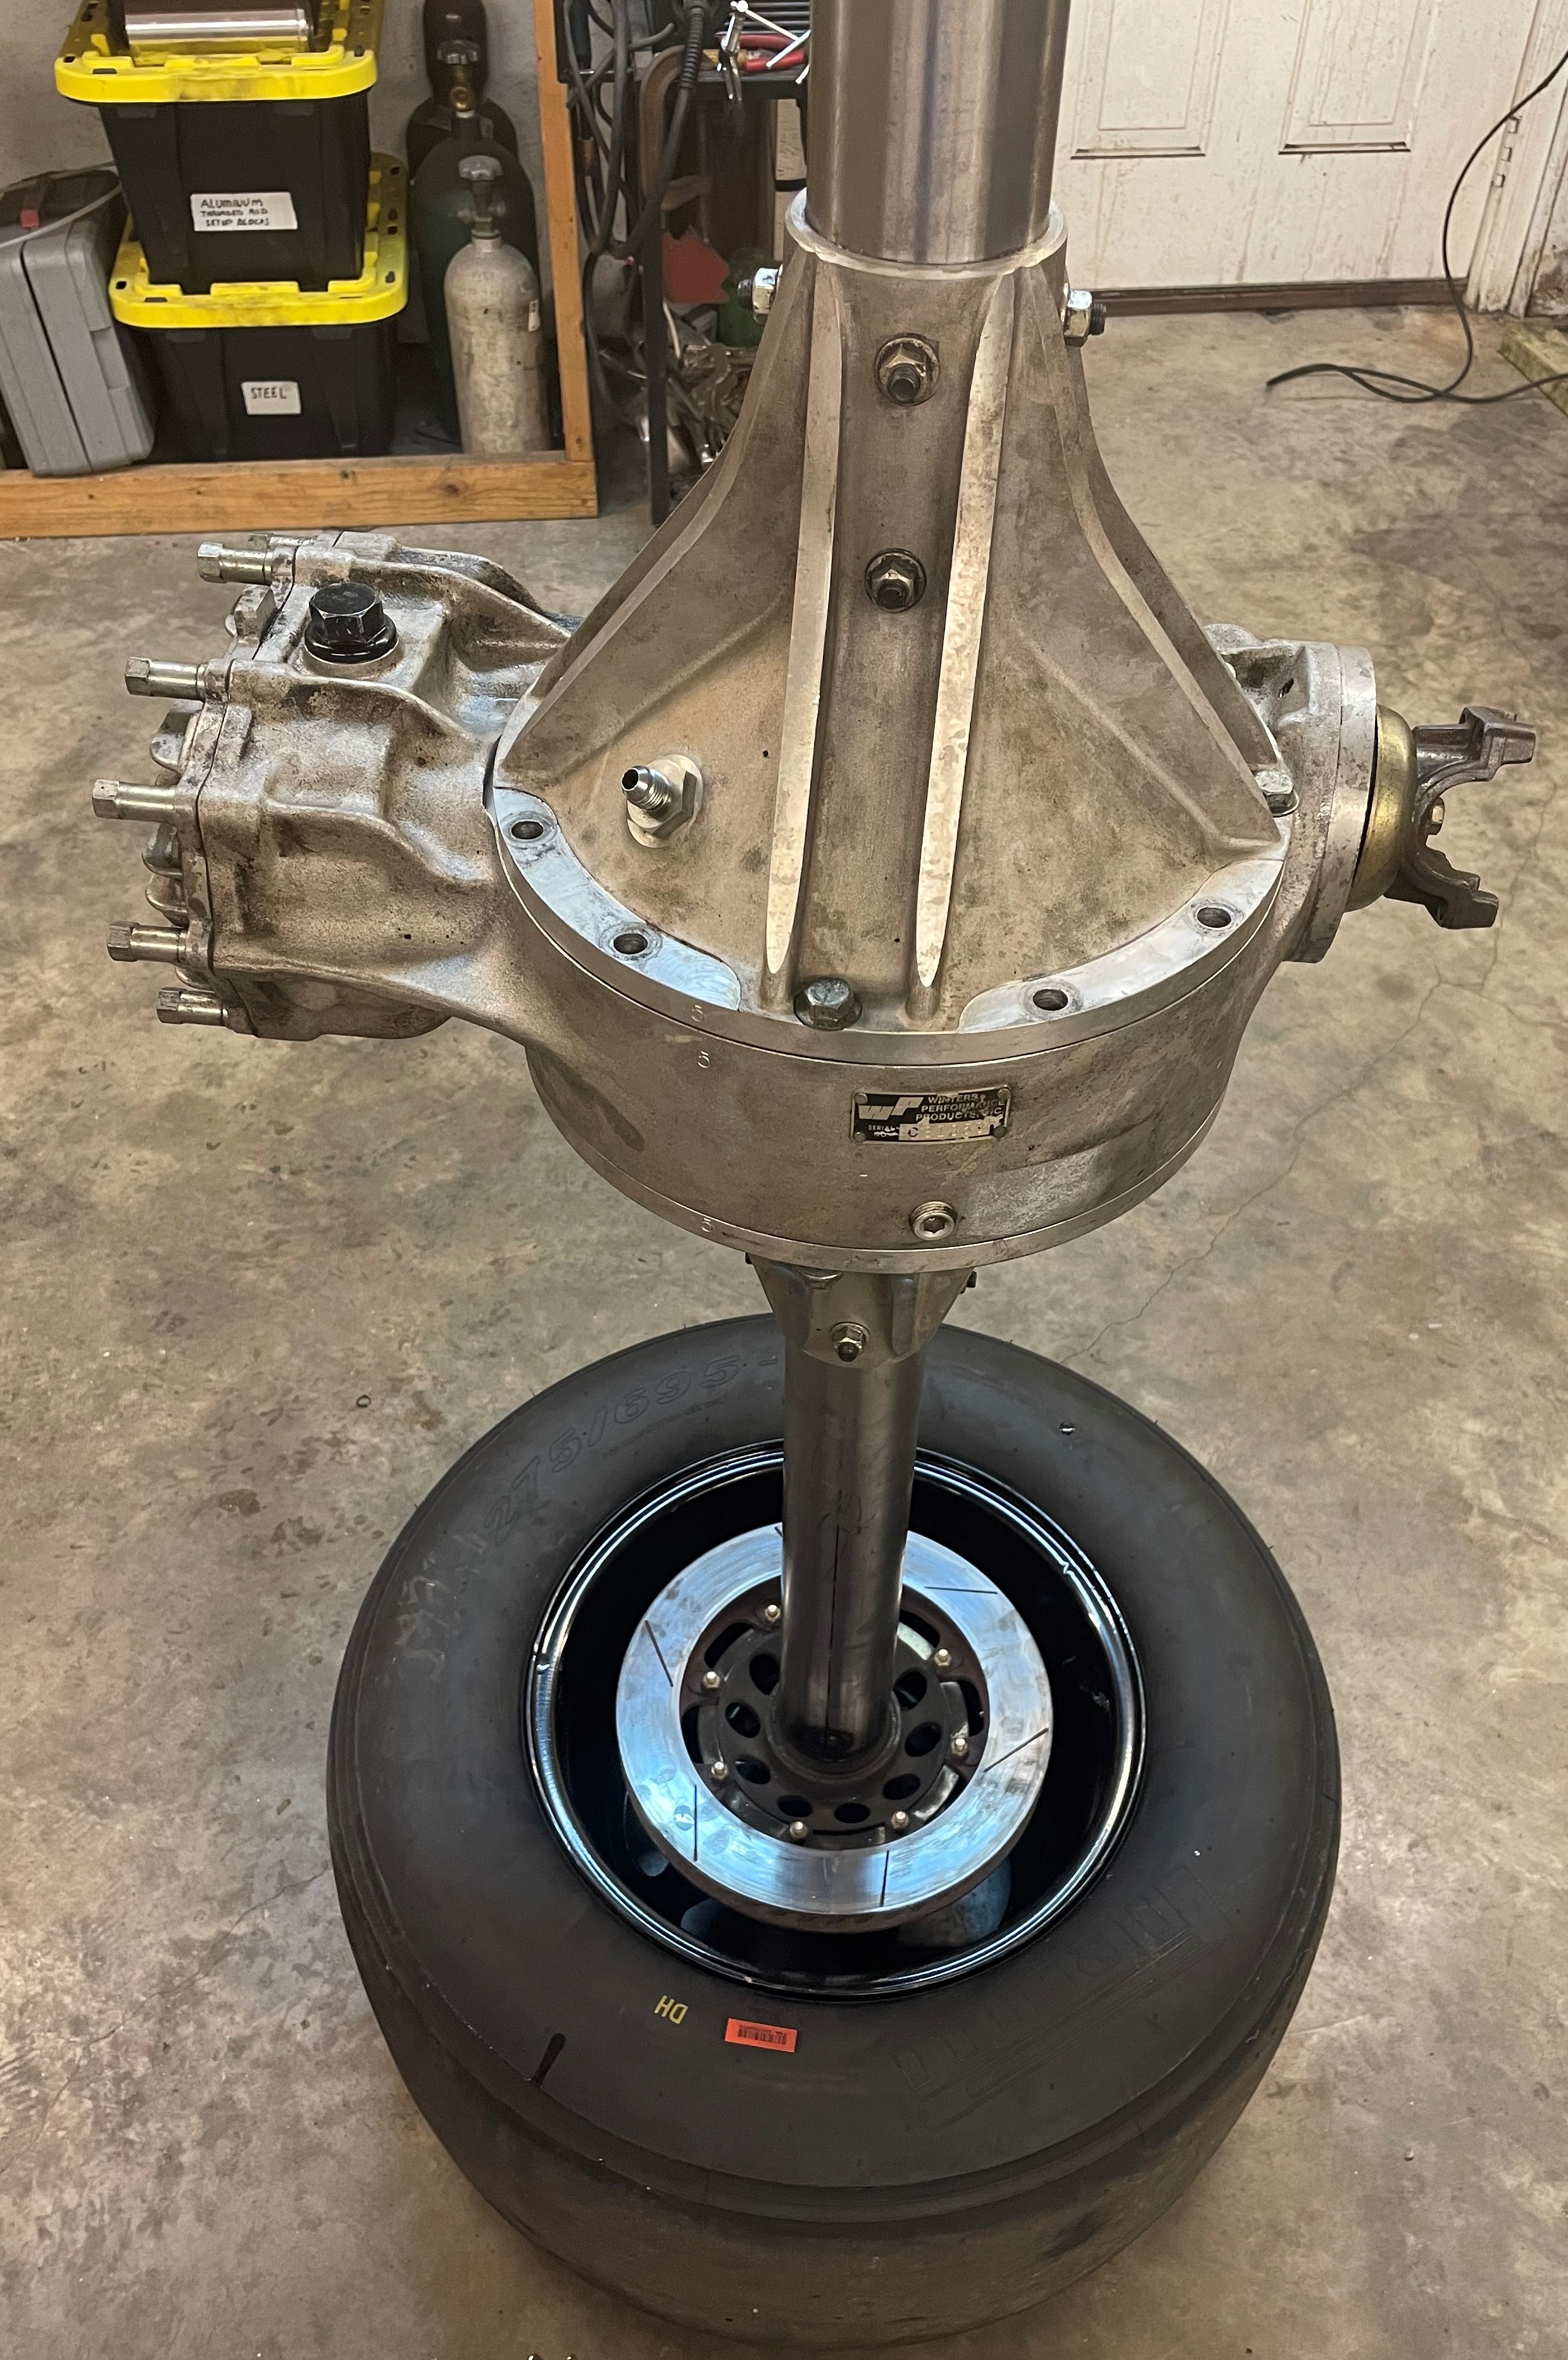
The Winters rear axle assembly, Howe hubs, and Basset wheels in my car all add up to a maximum track width of 76”, and that is including running the thickest spacers the extra long wheel studs can accommodate. The series maximum is 79”, which is a big difference. In grass roots racing as in professional racing, you don’t want to give your competitors that much of an advantage. Yes, I could make up that difference running wheels with a different backspacing, but then I’d be in a situation where my front and rear wheels are not interchangeable.
Being able to set the car at the maximum track width allowed is a GUD thing, but being able to make easy adjustments is also very important, so I decided to rebuild my axle assembly to a width of 77” without spacers. Adding 1” spacers on each side will get me to the maximum allowed width, and I will have lot of adjustment capability with which to balance the car’s handling.
Swapping the axle tubes on a quick-change style rear axle is straightforward and can easily be done by amateur racing mechanics at home with the right tools and a bit of patience. There are some important decisions to make, and a few details to be aware of to make the job go smoothly, so let’s get into them.
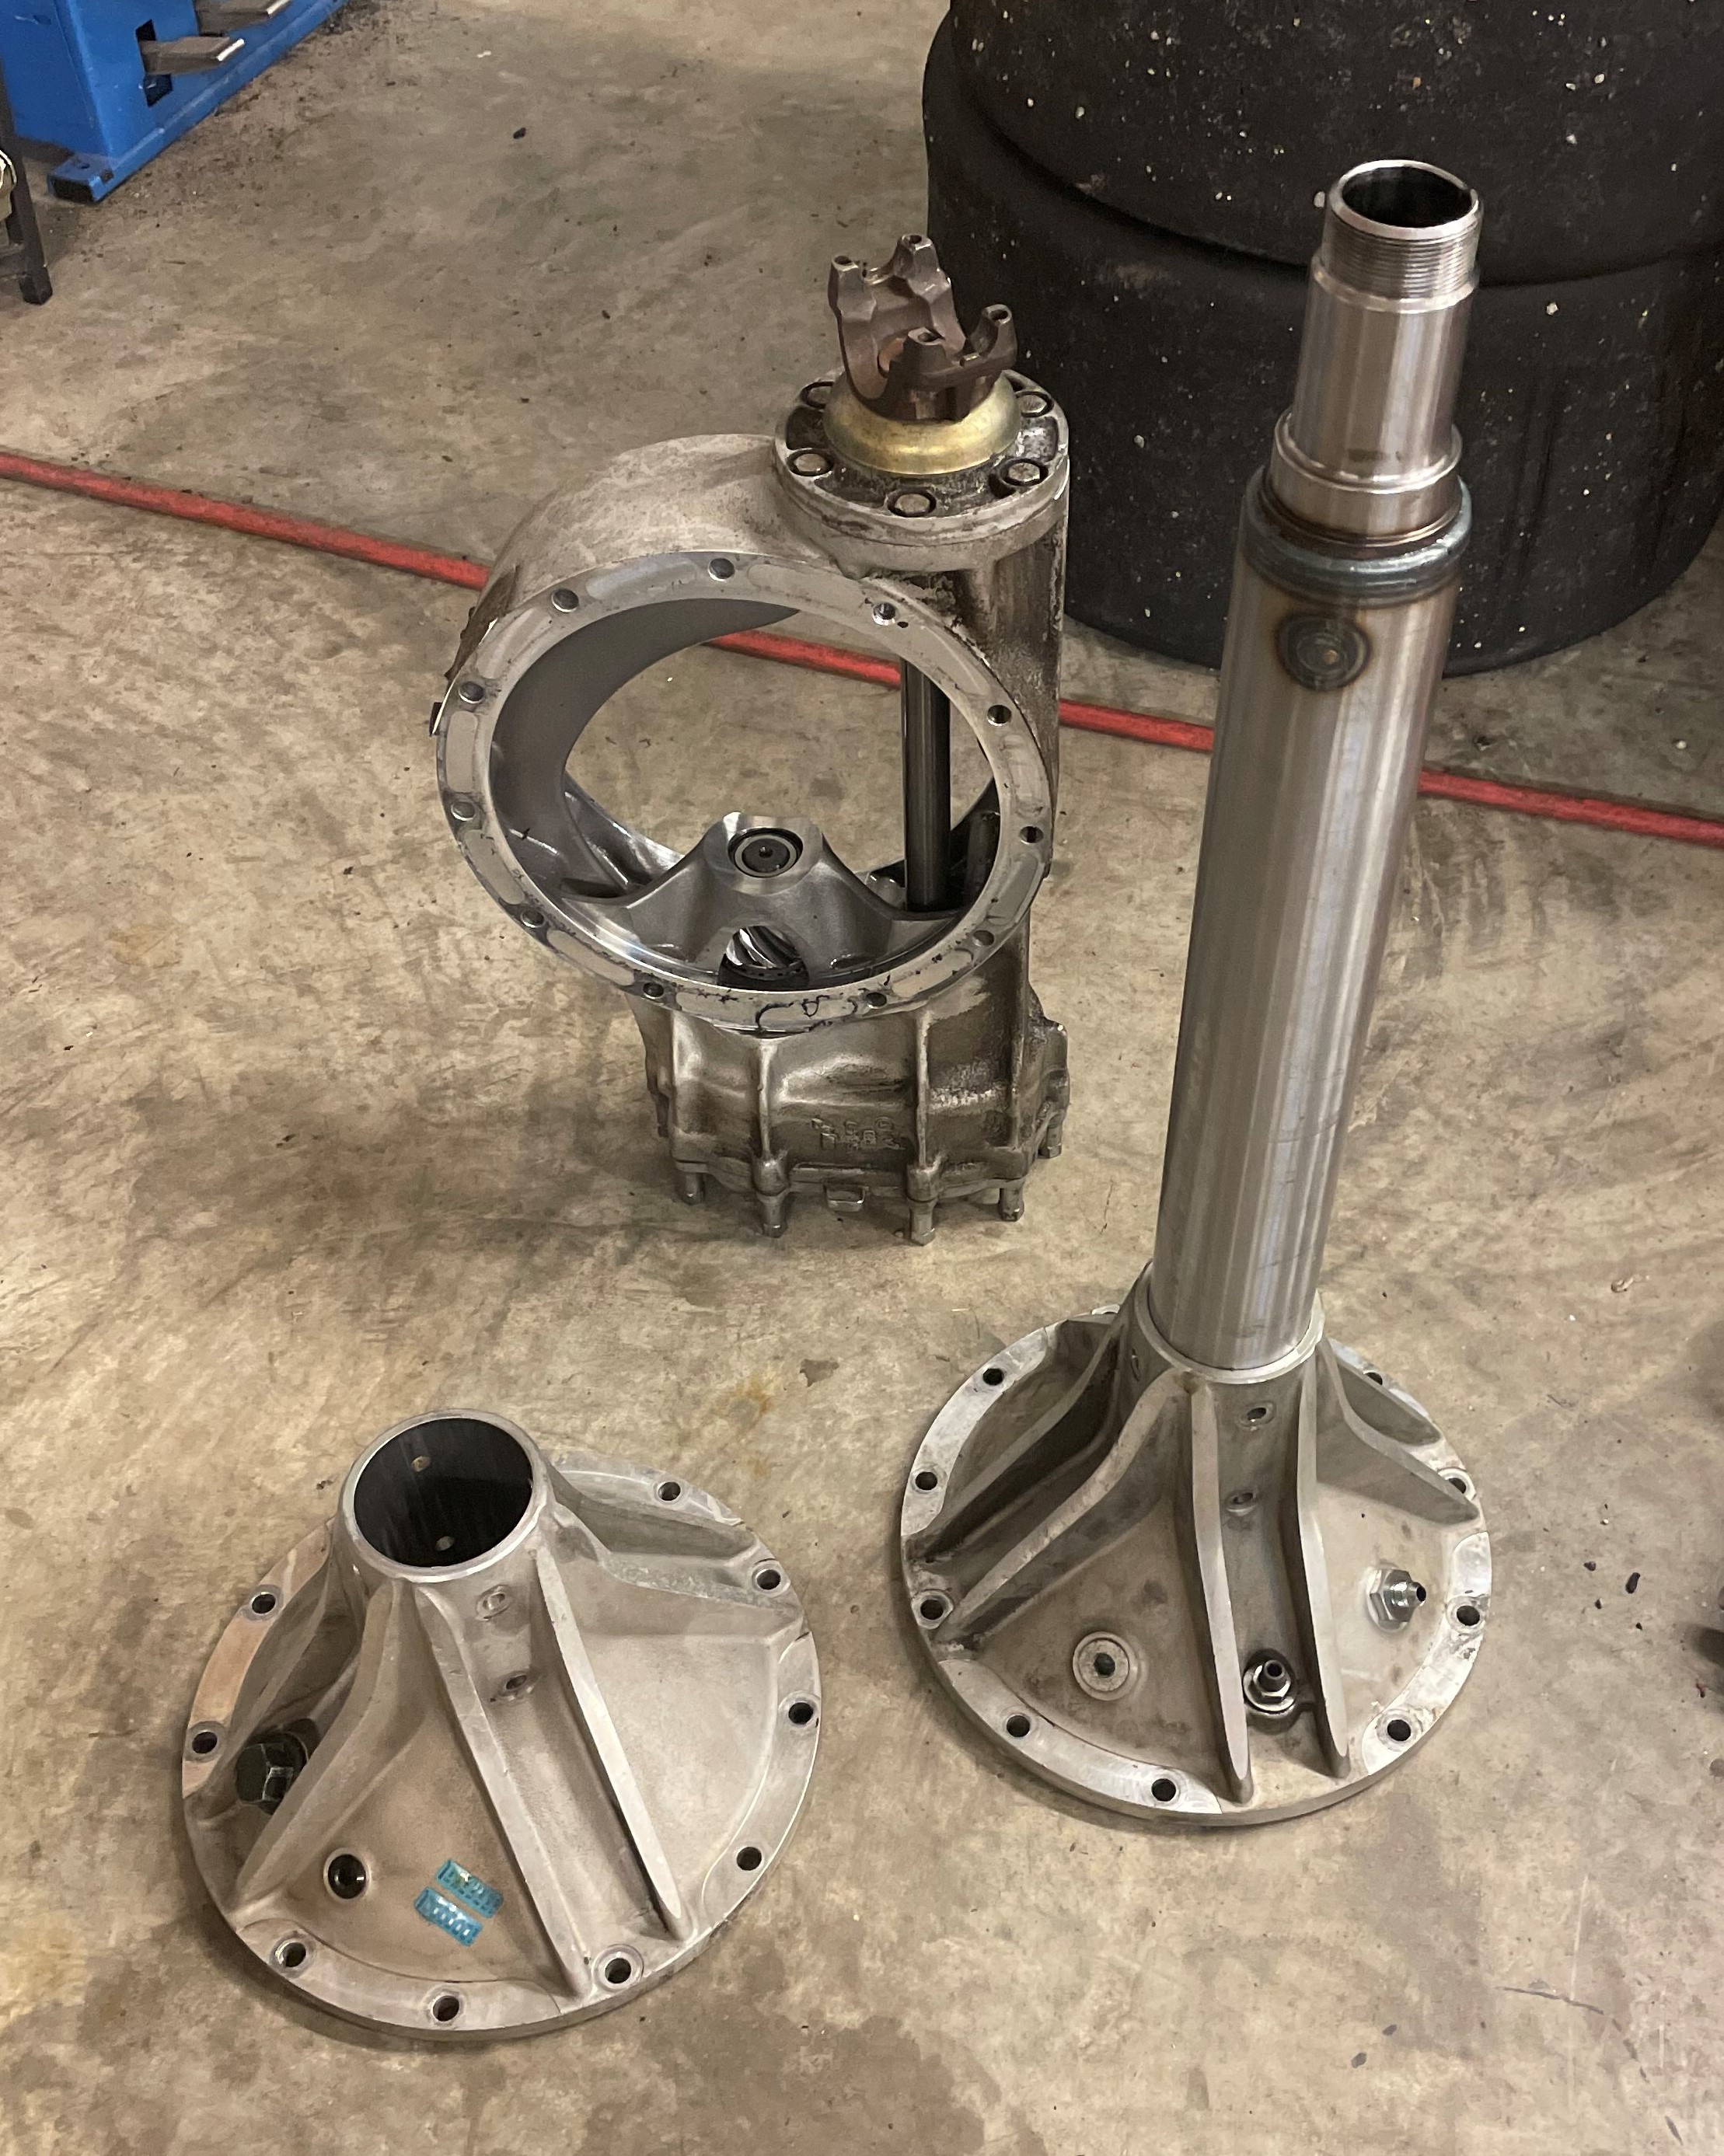
Axle Tube Selection
- A key decision to make is how much rear camber you want. This is mainly driven by the tires you will be using. TA2 cars, running on Pirelli radial tires run somewhere around 2 degrees. My car will run on Hoosier bias ply slicks, which don’t need anywhere near as much camber as radials. Since running any camber on the rear of a solid axle car results in increase wear on the internal parts, I decided to stick to 0 camber.
- Axle tubes are available with bolt on bearing snouts, weld on snouts, and with the snout already welded on to your selected amount of toe and camber. They also are available in different overall lengths, thicknesses, and even in aluminum or steel. I chose Allstar Performance steel tubes, which make it easy to weld on suspension and brake brackets and will tolerate off track excursions better than the aluminum options.
- Tubes can easily be cut to the exact length required using a band saw, so don’t fret if you can’t find the exact length you need in stock.
Axle Shafts and Seals
- Axle shafts are available in any length, solid or gun-drilled, and even in various thicknesses. I chose these Strange shafts as they are very high quality and are thicker than the shaft that I broke. If you choose to run any amount of rear camber, you’ll want to choose axle shafts that have crowned, or barrel shaped outer splines.
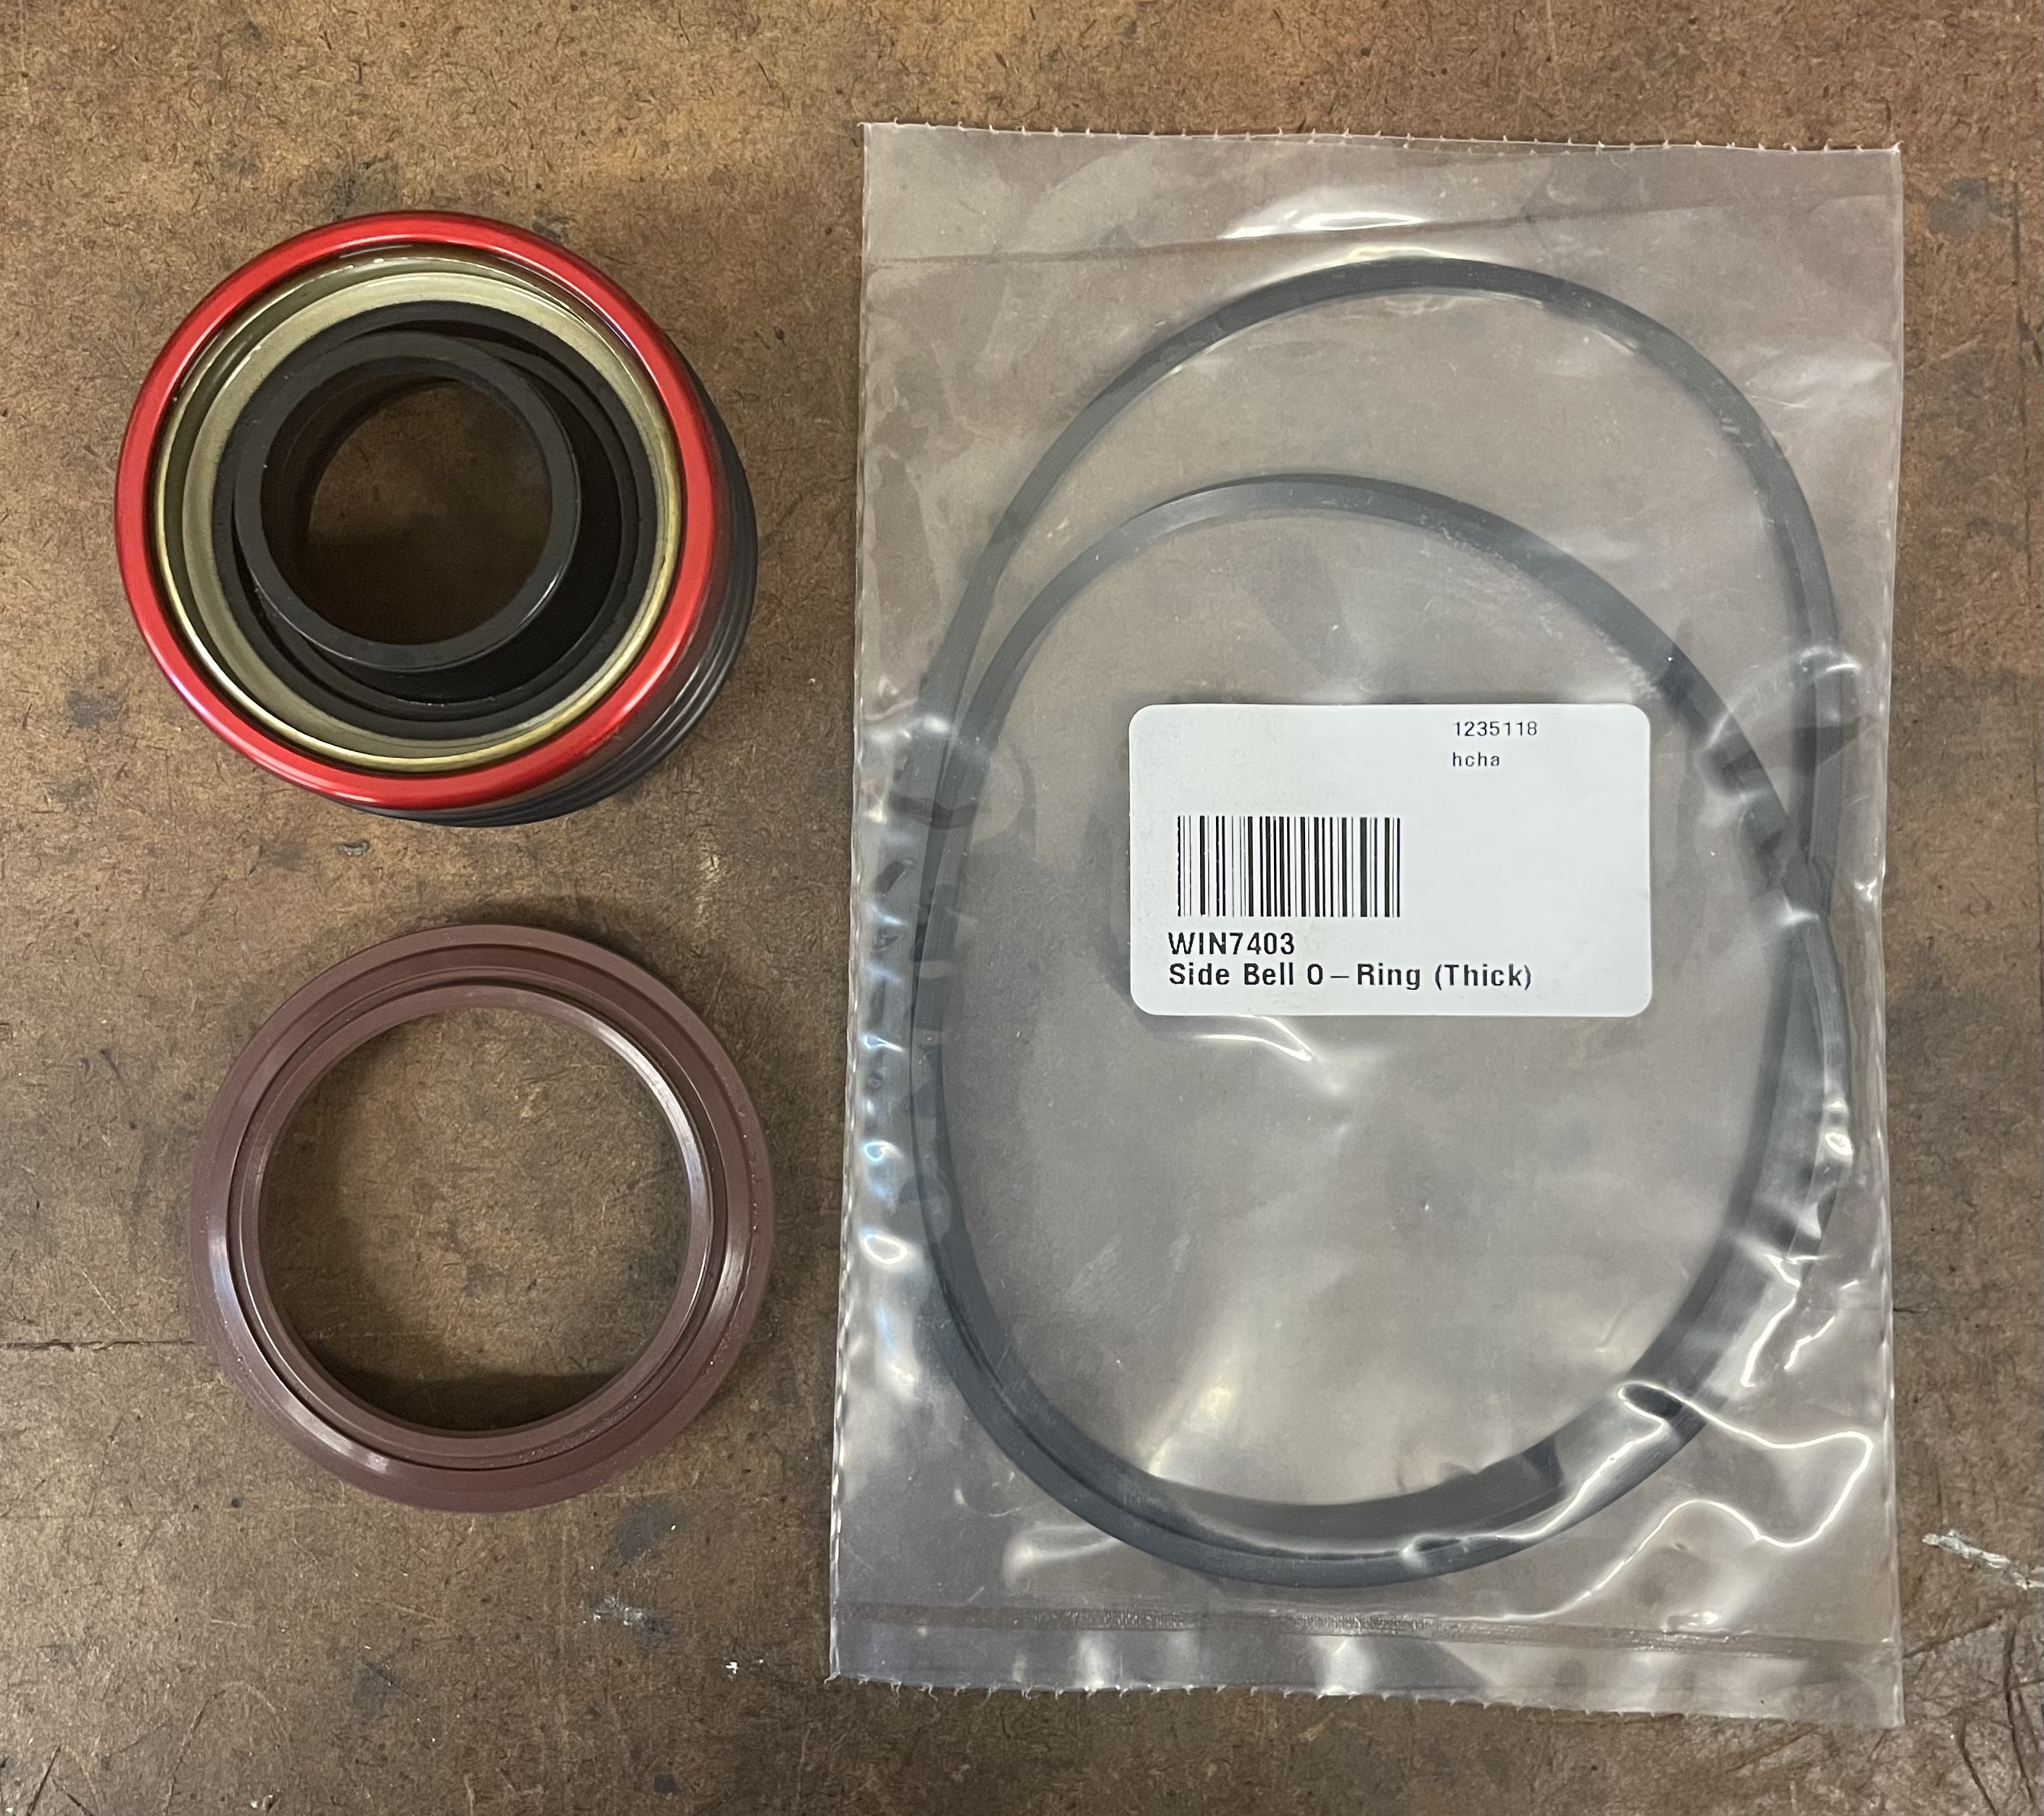
- The Winters rear axle requires a seal inside of the axle tube. I used these, but it is important to note that the outside diameter of the seal needs to be matched to the inside diameter of the tubes you are using.
- There is an internal seal and a bell seal that you’ll want to replace as well.

Disassembly and Reassembly Tips
- The most difficult part of swapping out the axle tubes is pulling the tubes out of the bell and pushing the new ones in as this is a press fit. Fortunately, Allstar Performance makes a tube removal/installation tool that makes this part of the job easy. You’ll need a strong vice that is bolted to a sturdy bench, and a wrench long enough to allow you to apply 150-200 ft/lbs of torque, and a map gas torch to allow you to warm the bell slightly. You wont need very much heat, and make sure you constantly move the torch to warm up the end of the bell evenly.
- Regardless of whether or not you cut the tubes or bought them to the desired length, you’ll want to ensure there is a bevel on the outside and the inside edges of the tube end that is pressed into the bell. The outside bevel will make it easier to start the tube into the bell end and will keep it from galling as it is pressed in. The inside bevel will enable you to install the inner seal. Make sure you liberally lubricate the tube and bell before beginning to press the tube in.
- After the tubes are pressed in, you’ll need to drill holes for the tube retaining bolts. Do this in several steps using gradually increasing drill bit sizes.
- The amount of “float” the axle shafts have needs to be adjusted. This is done using a bolt threaded into the inside end of the shaft and secured with a jam nut. Adjust these to have a total of 1/8”-3/16” of float total for both axle shafts.
- There is a bushing that rides against the back side of the ring gear that needs to be adjusted once the bell has been reinstalled onto the differential center. Simply loosen the jam nut, turn the screw in until the thrust bushing just touches the ring gear, back off 1/8 to 1/4 turn, and tighten the jam nut.